Tags
Africa, animal, capture, fear, Kruger National Park, lion, moment, nature, photographer, photography, Timbavati Nature Reserve
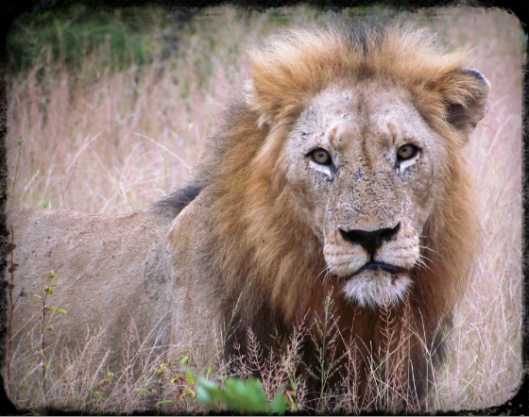
A lion in the Timbavati Nature Reserve, looking straight at my camera.
Posted by memcadam | Filed under Uncategorized

18 Sunday Aug 2013
Tags
Africa, animal, capture, fear, Kruger National Park, lion, moment, nature, photographer, photography, Timbavati Nature Reserve
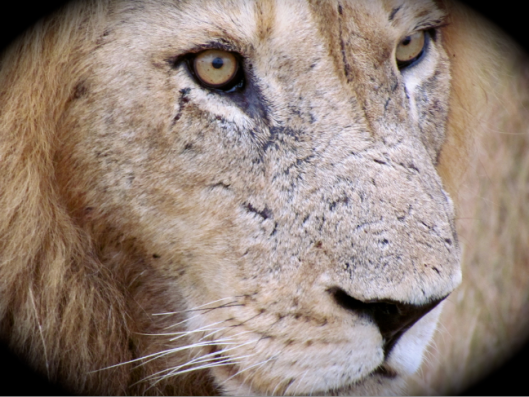
A lion in the Timbavati Nature Reserve, looking straight at my camera.
Posted by memcadam | Filed under Uncategorized
11 Sunday Aug 2013
Tags
Africa, capture, game reserve, Kruger National Park, lion, moment, photographer, photography, South Africa, timbavati
Lion in the Timbavati Game Reserve, 1 meter from the open roof vehicle.
Posted by memcadam | Filed under Uncategorized
02 Friday Aug 2013
Tags
fashion, Milla Jovovich, punk, resident evil star, rock chic, style, trend
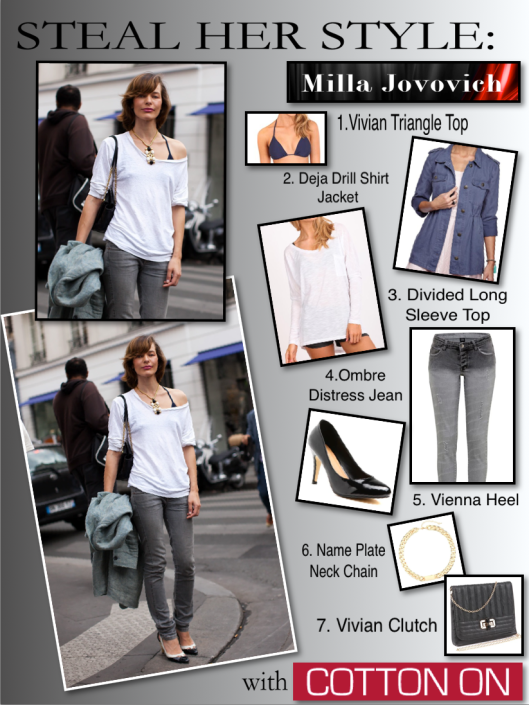
Dress like the Best!
Posted by memcadam | Filed under Uncategorized
28 Sunday Jul 2013
Posted in Meg's Say
Tags
Africa, communications supply, National Geographic, national geographic magazine, No Wonder You Love Paper, paper suppliers, Print Solutions, Print Solutions Magazine, responsible production, sharing science, South Africa, south africans, Sustainable development, Two Sides, United States

In the U.S. on May 29th, Two Sides with the help of the country’s magazine and newspaper publishers launched an Ad campaign promoting the sustainability of print and paper. The campaign is set to encourage responsible production of paper but also to create awareness amongst the people that paper manufacturing does have environmental impacts that are in fact good. Two Sides is a non-profit organization with membership spanning the entire graphic communications supply chain, from paper suppliers to printers to magazine and newspaper publishers. They are committed to continuous sustainability improvement across industries and correcting misconceptions about the maintaining of paper and print by sharing science-based information from well-known and trustworthy sources.
One of the first ads promoting No Wonder You Love Paper ad appeared in the National Geographic magazine. Inc. magazine had the first ad that appeared digitally. As of the latest several prints have appeared in Print Solutions and Gravure magazine. The campaign follows a similar successful campaign in Europe that anticipates $10 million worth of free ad placements in leading magazines and newspapers.
However, this campaign has taken globally and publishers in countries, like South Africa, have caught on to the phenomenon of the New No Wonder You Love Paper Ad Campaign brought forward by Two Sides. The campaign having such a good impact creating awareness on the environment could help South Africa’s new environmental policy, as the country wants to ensure that today’s development is aimed at improving the quality of life and protecting the environment. South Africa want to lead the people along the path of sustainable development and ensure that all South Africans have an environment that caters for their wellbeing and joining this campaign or creating an identical campaign could be a good start.
Similar to Two Sides President, Phil Riebel’s views on Americans having misconceptions about the effects of paper-based communications on the environment, South Africa also shares those misconceptions and don’t realize the advantages of paper mills. South Africa show the same statistics as America in the fact that 65% of paper produced each year is collected and recycled. Statistics of an increase of trees growing is also similar as 260 00 trees are planted in excess every single day in S.A. and only 9% is harvested annually. The National Council for Air and Steam have reports that show the plantation mills in South Africa lock up 900 million tons of CO2 and that CO2 would be 5% higher without them.
As Phil Riebel says, “When people are aware of the facts, they can not only enjoy the many types of printed media they encounter every day, but also can feel good knowing that by choosing ink on paper they are supporting one of the most sustainable products on the planet.” As research with Two Sides shows that 70 percent of polled U.S. consumers prefer to read print and paper rather than reading off a computer or tablet. South Africa probably shares similar views and in the end all types of communications media have environmental impacts, and we have the responsibility to reduce those impacts wherever we can.
The No Wonder You Love Paper ads feature people enjoying magazines and newspaper in their everyday lives and offers facts about the sustainability of print and paper. The Campaign is supported by a consumer website, http://www.youlovepaper.info, that includes additional facts and myths about the sustainability of print and paper, a short video on paper and forests, a fun quiz and the opportunity to win a prize for creating a short “fun with paper” video.
Publishers in the U.S. are interested in participating in the ad campaign and maybe South Africa should look into using this campaign or something similar in order to help further our development as a country as Phil Riebel was very appreciative of the interest that his campaign had sparked here.
For more information:
Two Sides UK: www.twosides.info
Two Sides U.S.: www.twosides.us
Contacts:
Two Sides UK, Martyn Eustace, e: mje@twosides.info,
Two Sides U.S., Phil Riebel, e: pnr@twosides.info
23 Tuesday Jul 2013
Tags
animal, animals, KNP, Kruger National Park, leopard, nature, photographer, photography, wildlife
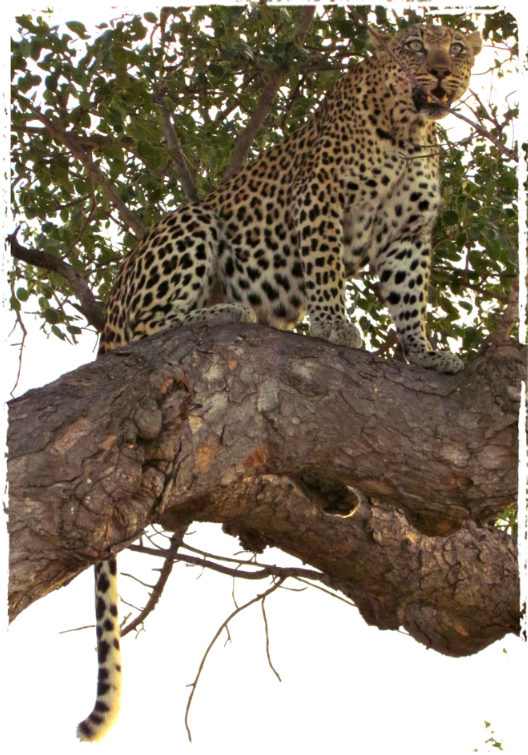
Incredible Female Leopard in KNP.
Posted by memcadam | Filed under Uncategorized
22 Monday Jul 2013

Even Cheetahs feel mondays…
Posted by memcadam | Filed under Uncategorized
20 Saturday Jul 2013
Posted in Dating 101 & Love 101
Tags
beauty, Body language, dating, Eye contact, Health, List of gestures, Relationships, romance, style, Yes (band)

17 Wednesday Jul 2013
Posted in Photography 101
Tags
art, beauty, gorgeous colors, Light, light position, lighting, natural sun, photographer, photography, photography 101, skills, sun lighting, textures, the sun, tips, top ten, trend, white fabric
People have been asking me on tips for Lighting when doing their Photography. So I have compiled the top ten tips that I have learned from the Best over the past couple of years.
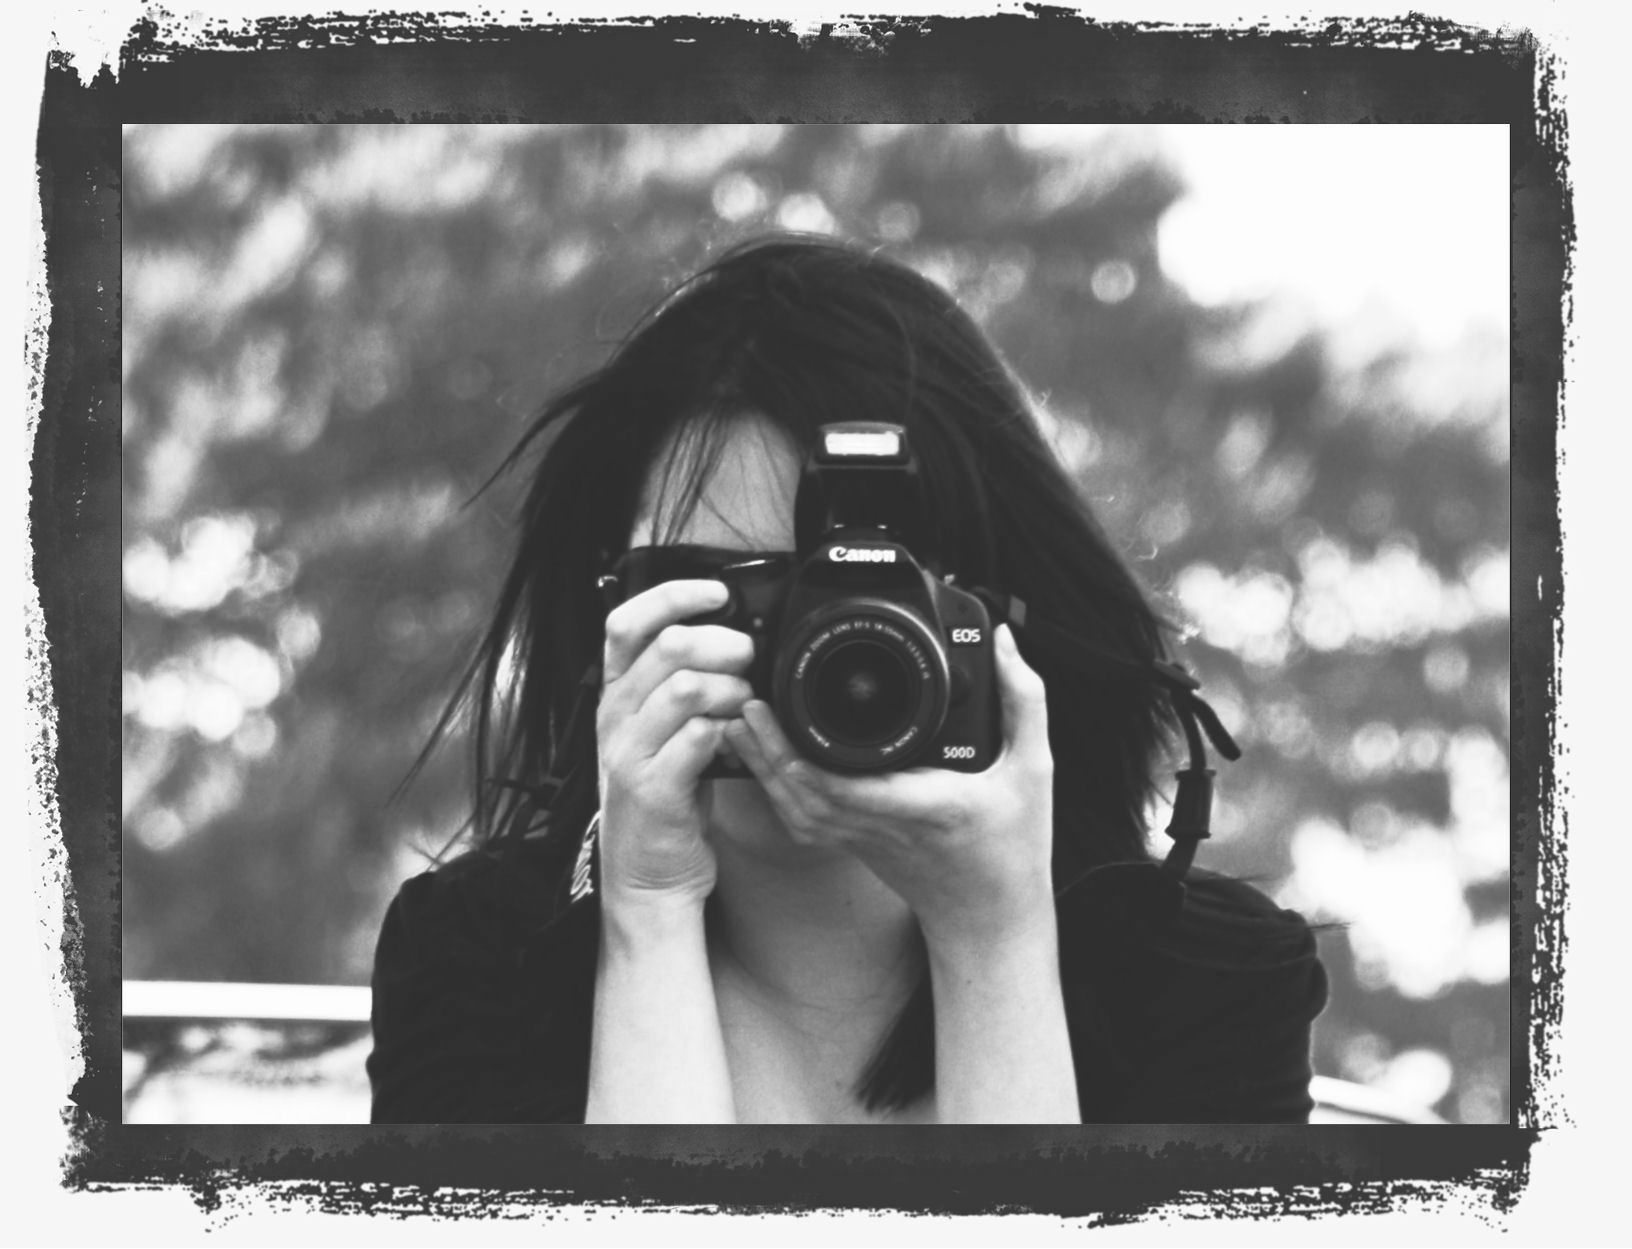
Top 10 Lighting Techniques for Photography
1. Nature’s Lighting Starter Kit: The Sun
The sun is the most versatile. It can be bright and hard, or dim and soft. It can cast exceptional shadows creating artistic pictures and allows for gorgeous colors to be displayed. It always makes a photograph look natural and it’s free! However be sure to invest in a reflector if the sun is too harsh.
2. The broader the light source, the softer the light.
Position a portrait subject near a large, bright window that does not receive direct sunlight. It makes for no-cost lighting— no studio equipment necessary.
3. The closer the light source, the softer the light.
When photographing people indoors by available light, move lamps closer to them or vice versa for more flattering light.
4. A Pro Takes The Studio Outside
In the natural sun, lighting is all around. This allows back, front, left and right lighting at your finger tip and when snapping the photos all will look natural and enhance the quality as sometimes irregular lighting from devices can cause the flash to give hassles.
5. Diffusion scatters light, essentially making the light source broader and therefore softer.
Materials such as translucent plastic or white fabric can be used to diffuse a harsh light source. You can place a diffuser in front of an artificial light, such as a strobe. Or, if you’re in bright sun, use a light tent or white scrim to soften the light falling on your subject.
6. Be Aware that Characteristics of Natural Light Change
To the photographer this means that if a scene doesn’t look the way you’d like it to look at the time of day or in the weather you initially see it, you may have a chance to capture it looking entirely different at another time, in another kind of light
7. Expose with Post-Processing in Mind
Exposing with post-processing in mind is a bit of a mental battle. You constantly have to ask yourself: Which element is more important to the image? What are the details that I can afford to lose and which are those, which I can’t? Ultimately there might be situations where details cannot be preserved by under- or over-exposing and until the photographic technology gets better, that is just something we have to live with.
8. The farther the light source, the more it falls off— gets dimmer on your subject.
Set your camera’s flash (pop-up or hot-shoe) to fill flash for outdoor portraits on harshly lit days. This will lighten shadows on your subject’s face but won’t affect the background exposure—it will fall off by then.
9. Front lighting de-emphasizes texture; lighting from the side, above, or below emphasizes it.
To retain detail in your animal’s fur or skin, position the light source somewhat to the side rather than straight on.
10. Backlight can be used as highly diffused lighting.
For spark in a backlit portrait or silhouette, try compositions that include the light source. This can drive your meter crazy, though, so bracket your exposures.
Hope these lighting tips help in your future photography endeavors.
Good Luck!
17 Wednesday Jul 2013
Tags
animals, cub, endangered species, Facebook, International Organization for Standardization, Light, nature reserve, Organizations, photography, Plettenberg Bay, rhino and lion park, Shutter speed, The Daily Post (New Zealand), tiger, wildlife

6 month old Tiger cub in the Rhino & Lion Nature Reserve.
visit them at http://www.rhinolion.co.za/
Posted by memcadam | Filed under Photography 101, Uncategorized
17 Wednesday Jul 2013
Tags
animals, Arts, campaign, International Organization for Standardization, Light, Los Angeles, nature, Nitzan Haroz, photographer, photography, poaching, Rhino Poaching, Shutter speed, support, The Daily Post, wildlife
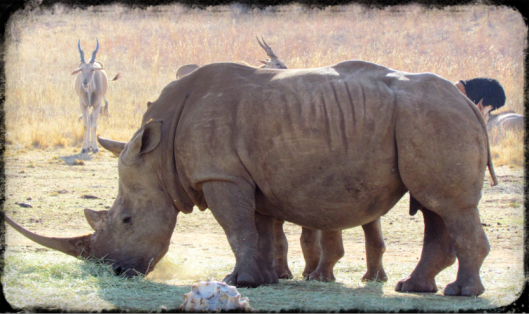
Stop Rhino Poaching and support http://www.stoprhinopoaching.com
Posted by memcadam | Filed under Photography 101, Uncategorized
